-
E-mail
2377439258@qq.com
-
Phone
18721606967
-
Address
Shanghai Pujiang Town High tech Park Caohejing Development Zone
Product Categories
Shanghai Jingpai Instrument Co., Ltd
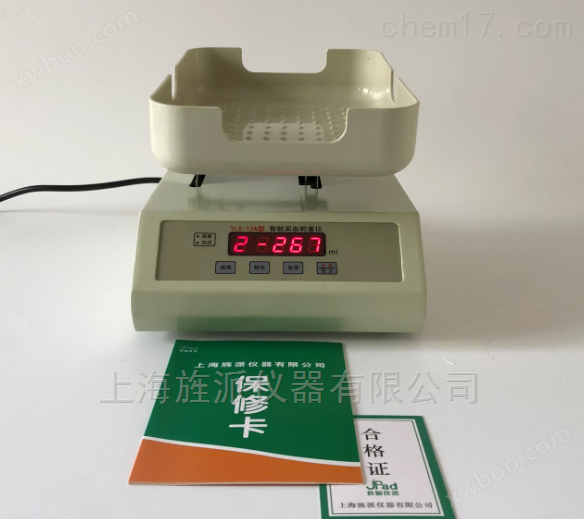
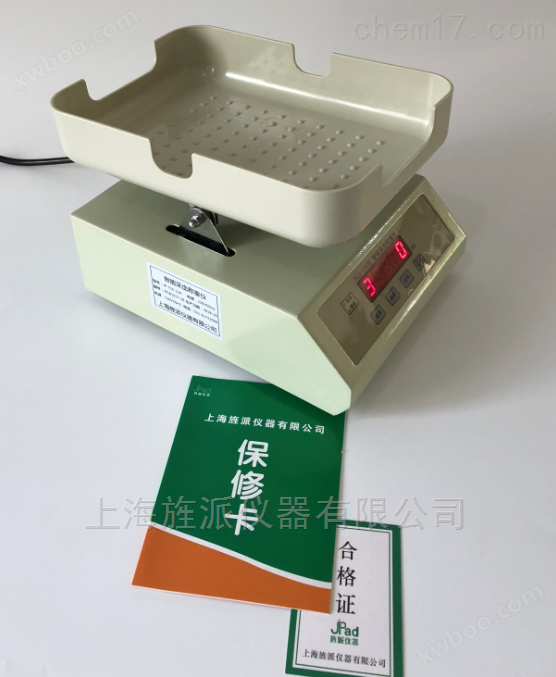
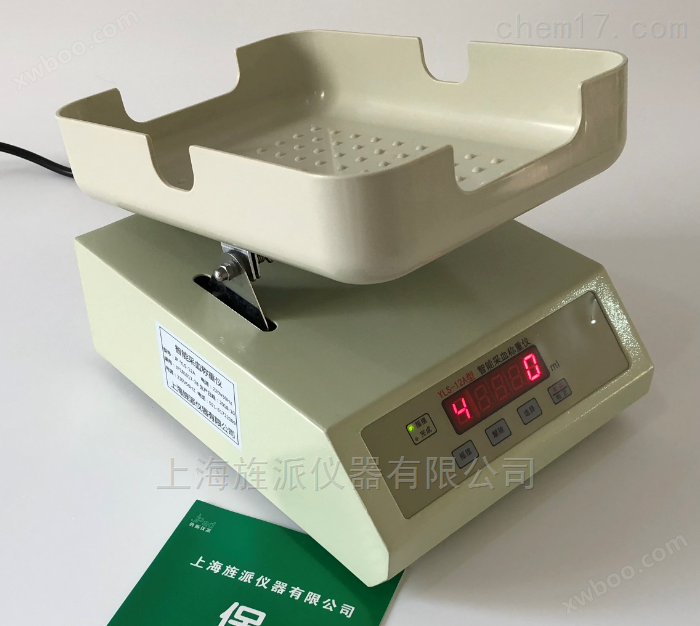
Ozone * Large Self Blood * Swinging Weighing Scale
NegotiableUpdate on 01/21
- Model
- Nature of the Manufacturer
- Producers
- Product Category
- Place of Origin
Overview
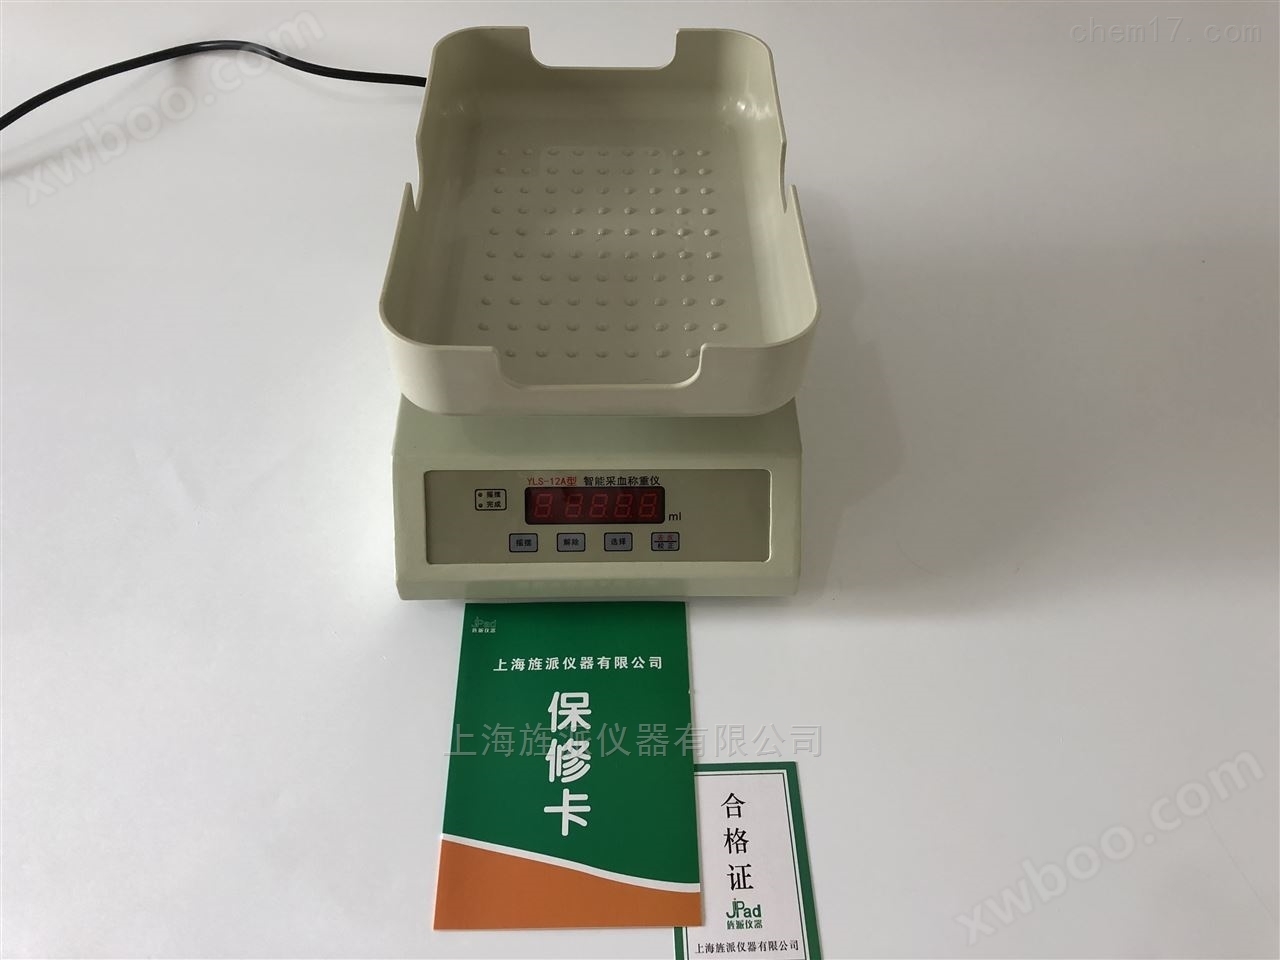
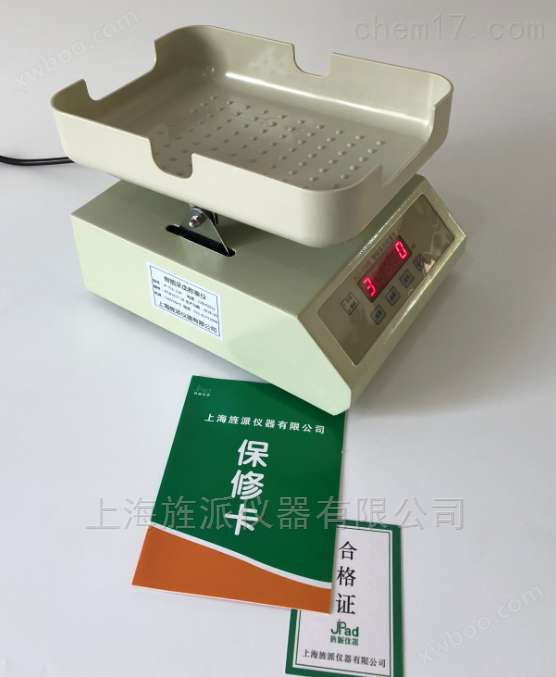
Ozone * Large Self Blood * Swinging Weighing Scale * Used for Large Self Blood, used to mix and shake ozone and blood evenly. This is digital, with accurate display of time and speed
Product Details
Ozone * Large Self Blood * Swinging Weighing ScaleOverview
●the use of machines
●Basic Operations
1Prepare
Open the packaging, remove all items and check if the boxed items are complete;
Install the tray according to the instructions on the back of the tray;
Connect the power cord properly. (Note: There is a spare fuse with a specification of 1AL250V inside the power socket)
2Power on
Press the power switch, the weighing instrument enters the power on self-test program, and there is a buzzing prompt sound. After the self-test is completed, it displays "00". If not, pressPeeling/CalibrationReset to zero.
3Zero adjustment and peeling
After turning on the power, the machine self checks and automatically resets to zero; short pressPeeling/CalibrationIt can be manually reset.
4Correction (this operation takes level 2 as an example)
(1) Select gear "2", short pressPeeling/CalibrationKey reset;
(2) Press and holdPeeling/CalibrationPress the button for more than three seconds, the buzzer will beep, beep, beep... "for three short beeps, then release the button and display" str ".
(3) Place 200mL of corresponding weight and hold it downPeeling/CalibrationPress the key for more than 3 seconds, and the buzzer will sound once After a long beep, confirm that the weighing instrument will automatically calibrate and display "end" and "200", indicating that the calibration is complete.
(4) Remove the weight and restore normal weighing display.
5Select blood collection gear
press'Select'Key: Loop display of "0-4" five gears, release to automatically confirm the current gear.
6Swing setting:pressSwinging 'Press the button to select its working mode:
The corresponding indicator light is on - swinging action;
The corresponding indicator light is off - no swinging action (factory set to this mode).
7Alarm:press'Release'Press the button to release the corresponding alarm mode.
Corresponding indicator light on - simultaneous sound and light alarm;
The corresponding indicator light is off - the alarm is cleared.
The A-type alarm mode is a simultaneous sound and light alarm. At this time, press'Release'After pressing the key, remove the sound alarm and keep the light alarm. If the alarm source is not removed for about 15 seconds, restore the sound alarm. pressPeeling/CalibrationThe key can clear all alarms.
8Shutdown:After the weighing instrument is working, you can press the power switch at the back of the machine to turn off the working power.
●Working steps of weighing instrument
1.Turn on the power switch, the weighing instrument will automatically self check and zero before entering the weighing state;
2.Perform calibration operations on the machine according to the user manual; (Calibration can be carried out regularly or when measurement errors are detected)
3.Place * correctly and pressPeeling/CalibrationPeel the skin and press the corresponding button to set various parameters, and prepare for blood collection;
4.After puncture, the weighing instrument enters the blood collection working state;
5.During the blood collection process, if * is removed midway, the machine will stop swinging and will automatically resume swinging after reinstalling;
6.If the blood collection volume is pre-set, stop swinging and enter the precise weighing state when the preset value * ml is reached;
7.After reaching the preset value, a blood collection completion alarm prompt will be issued. If there is a blocking function, the clamp will start to move and stop blood collection. At this time, it should be removed in a timely manner;
8.After the blood collection work is completed, the power switch should be turned off and the power should be cut off.
●Maintenance and Precautions for Instruments
1.The weighing instrument is a precision electronic device, and should not be heavily pressed onto the tray or exceed its weighing range to avoid inaccurate weighing or damage to the sensor;
2.During transportation, the pallet should be removed and placed separately to prevent damage to the pallet or sensor;
3.If there is a malfunction in the display and weighing instrument control part, first check whether the power supply voltage of each group is normal. If there is a malfunction, please repair it accordingly. If there is a fault with the circuit board that cannot be resolved by oneself, please contact our company. You can also remove the faulty circuit and send it back to our company. After clearing the fault, you can return it for installation and continue to use it.
4.After repairing the components, the following points should be noted when reinstalling them:
(1) All connections and connectors should be connected as they are, without any mistakes or omissions;
(2) The motherboard installation should be neat, and the digital tube indicator light should be aligned with the corresponding position on the panel;
(3) The swinging device should be installed according to the schematic diagram, otherwise it may cause damage to the sensor.
5.The blood specific gravity of the weighing instrument is set at 1.05g/mL when it leaves the factory, which is suitable for collecting whole blood. The liquid collection volume at each level can be calibrated with weights.
The JP-YLS-12A intelligent blood collection weighing instrument (hereinafter referred to as the weighing instrument) adopts modern sensor technology and is composed of components such as trays, swinging mechanisms, and microcontroller control circuits. Its structure is reasonable and durable, meeting the requirements of 'fast, accurate, continuous, and automatic' weighing. At the same time, it effectively eliminates human errors, avoids physical damage to blood, and ensures the survival rate of effective components in blood during the collection process, making it more in line with the application requirements of legal measurement management and blood collection process control. It is suitable for blood collection institutions in various places.
●Main technical parameters
model |
JP-YLS-12A |
|
working environment |
-10~40 ℃, relative humidity not exceeding 85% |
|
power supply |
AC220V,50Hz,12VA |
|
pick |
0档 |
Uncontrolled blood collection volume |
1档 |
0~100 |
|
2档 |
0~200 |
|
3档 |
0~300 |
|
4档 |
0~400 |
|
Division value (mL) |
1 |
|
液体比重 (g/mL) |
1.05 |
|
swing angle |
13± 2° |
|
Swing frequency (times/minute) |
30~ 32 |
|
Liquid sampling error |
2% |
|
Alarm |
audible and visual alarm |
|
Dimensions (mm) |
218×172×160 |
|
Weight (kg) |
2.8 |
|
Blood collection level (CH) |
Pre set blood collection volume (mL) |
Verify the weight value (g) |
1 |
100 |
105 |
2 |
200 |
210 |
3 |
300 |
315 |
4 |
400 |
420 |
●
Ozone * Large Self Blood * Swinging Weighing Scale
Precautions
When using and maintaining the weighing instrument, do not press the tray too heavily to exceed its weighing range, in order to avoid inaccurate weighing
Or the sensor may be damaged.
●Error messages and common troubleshooting methods
●Error message prompt:The error message displayed in the window is shown in the table below
Error message |
Explanation` |
ERR1 |
During calibration, no weights were placed |
ERR2 |
The total substance in the tray exceeds 1200ml |
ERR3 |
When setting the blood collection volume, set the value to be less than "50ml" or greater than "1200ml" |
ERR4 |
After peeling, the remaining blood collection range is less than the current gear control range (except for "0 gear") |
●Malfunctions and Diagnosis:See the table below
Fault phenomenon |
cause of failure |
solution |
No display or prompt upon startup |
1The power supply is not properly connected |
1Reconnect the power supply |
2The fuse is blown |
2Replace the fuse |
|
3The internal connectors are loose |
3Open the machine and plug in the plug-in |
|
Display abnormal |
1The display board plug-in is loose |
1Insert the display board connector tightly |
2Display board malfunction |
2Replace the display board components |
|
Inaccurate weighing |
1Improper calibration operation |
1Recalibrate |
2The sensor is loose |
2Reinstall the sensor |
|
Power on display shows ERR2 |
Sensor damaged |
Replace the sensor |
Button malfunction |
1Button damage |
1Replace the button |
2Button circuit fault |
2Check the button circuit |


Similar Product Recommend